Getting Started with Rankgent: Step-by-Step Setup Guide
Follow this simple guide to log in, set up your website, create campaigns, and connect everything to WordPress — all in just a few steps.
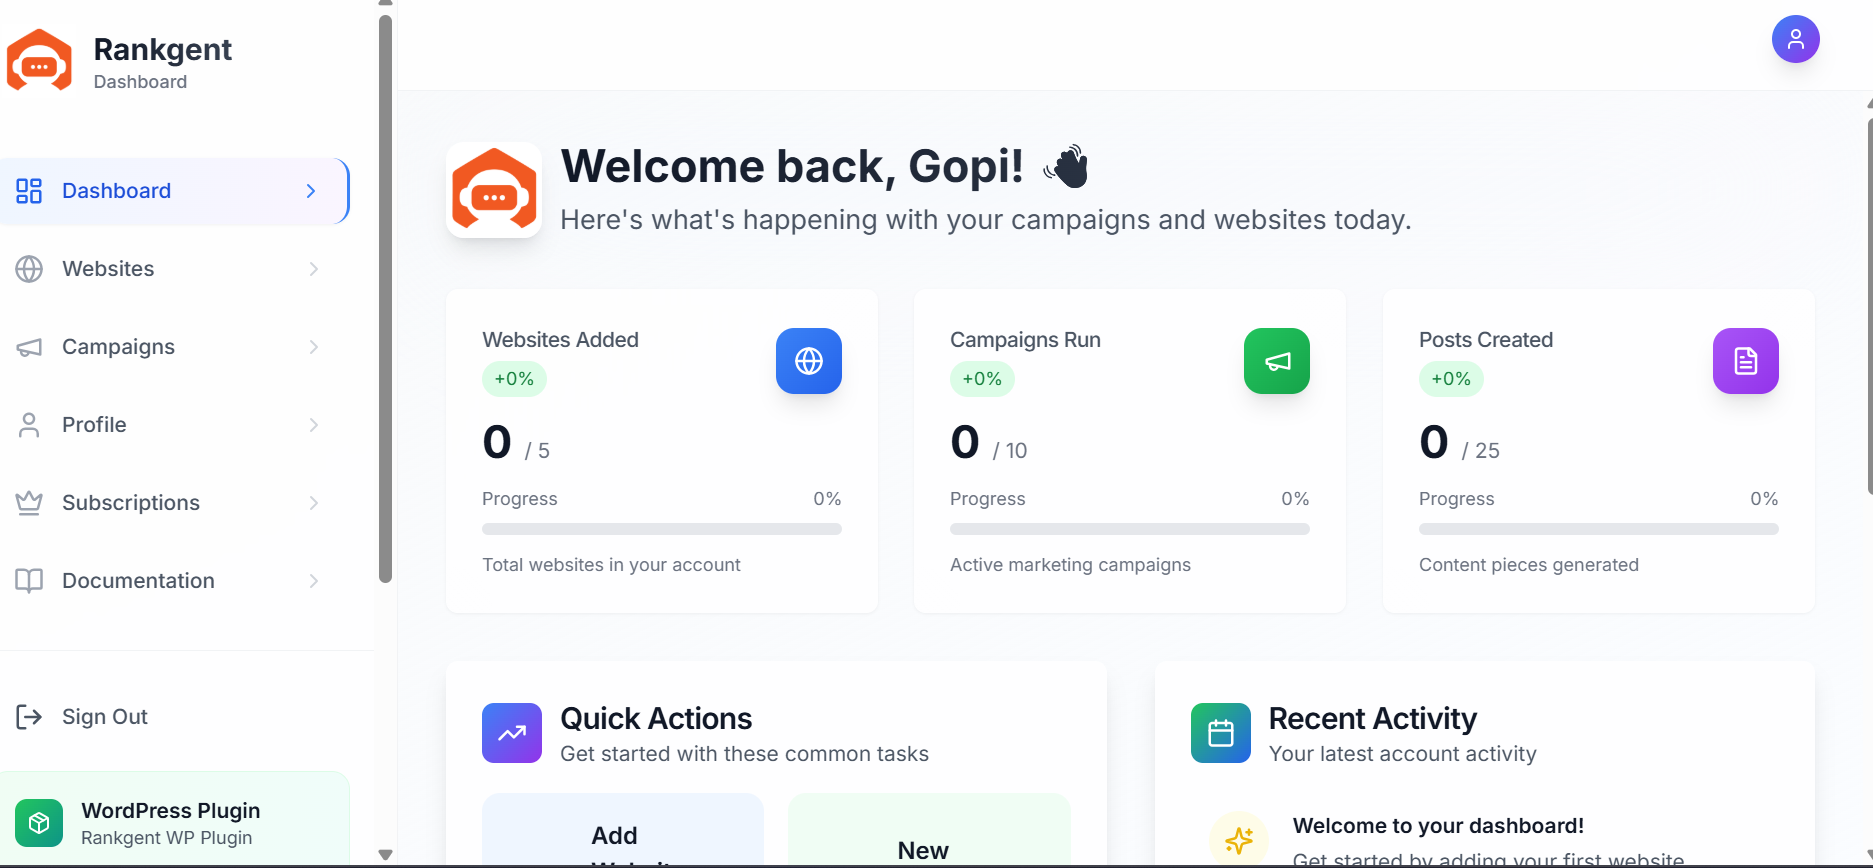
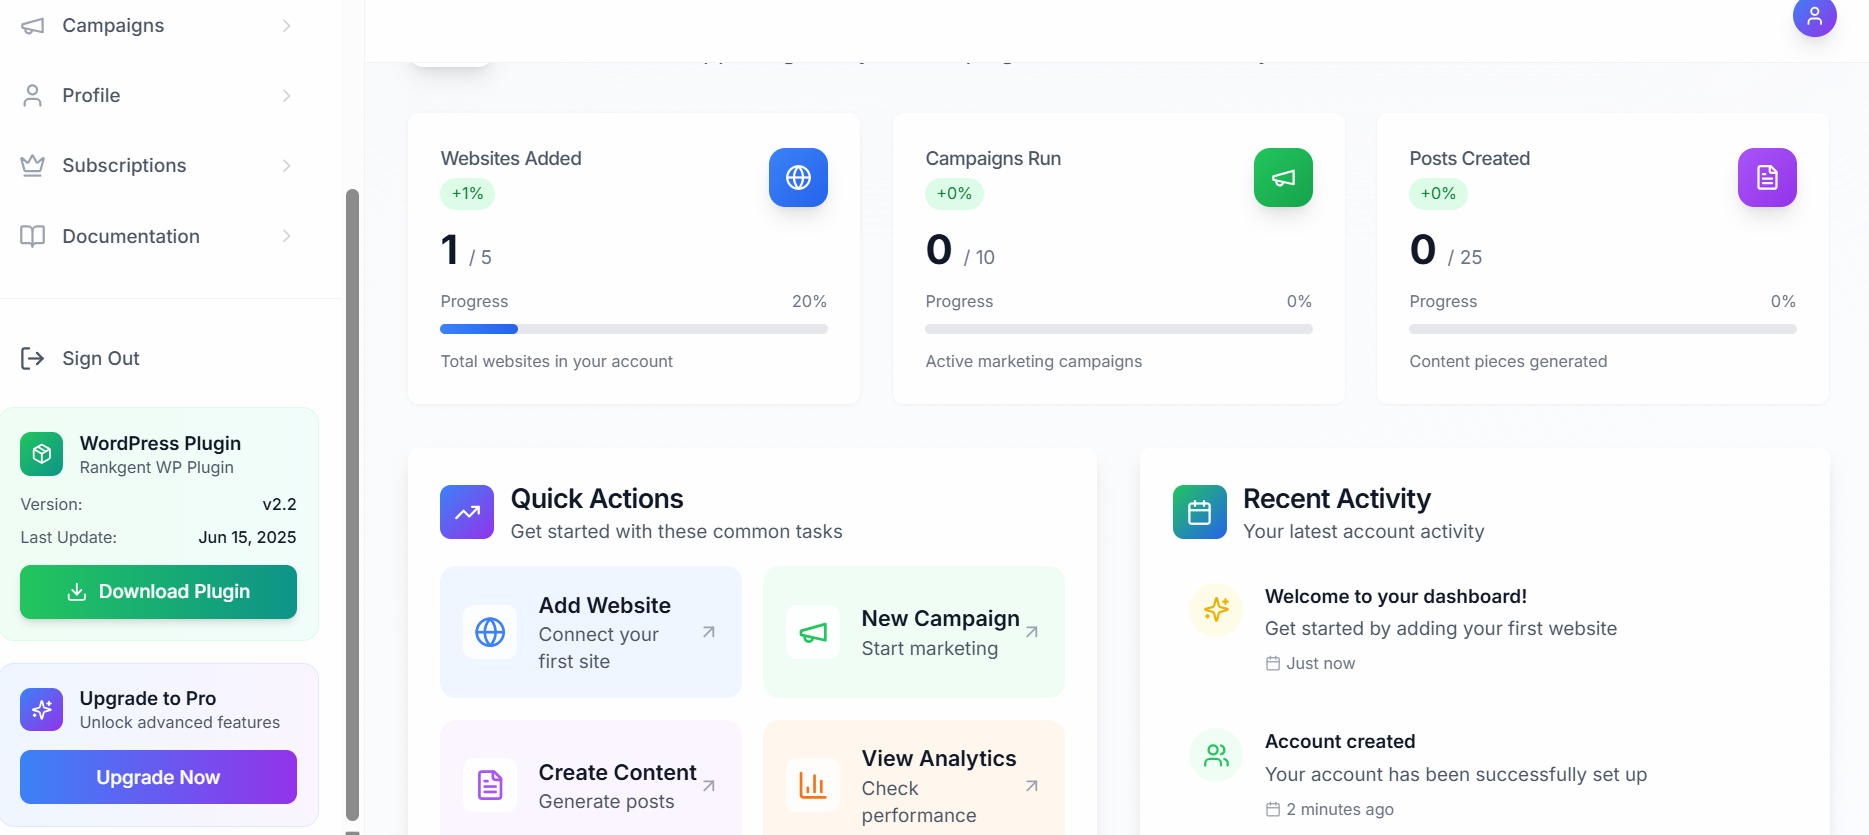
Step 01
Access the Dashboard
After logging in, your dashboard will open automatically. This is the main control panel for your websites and campaigns.
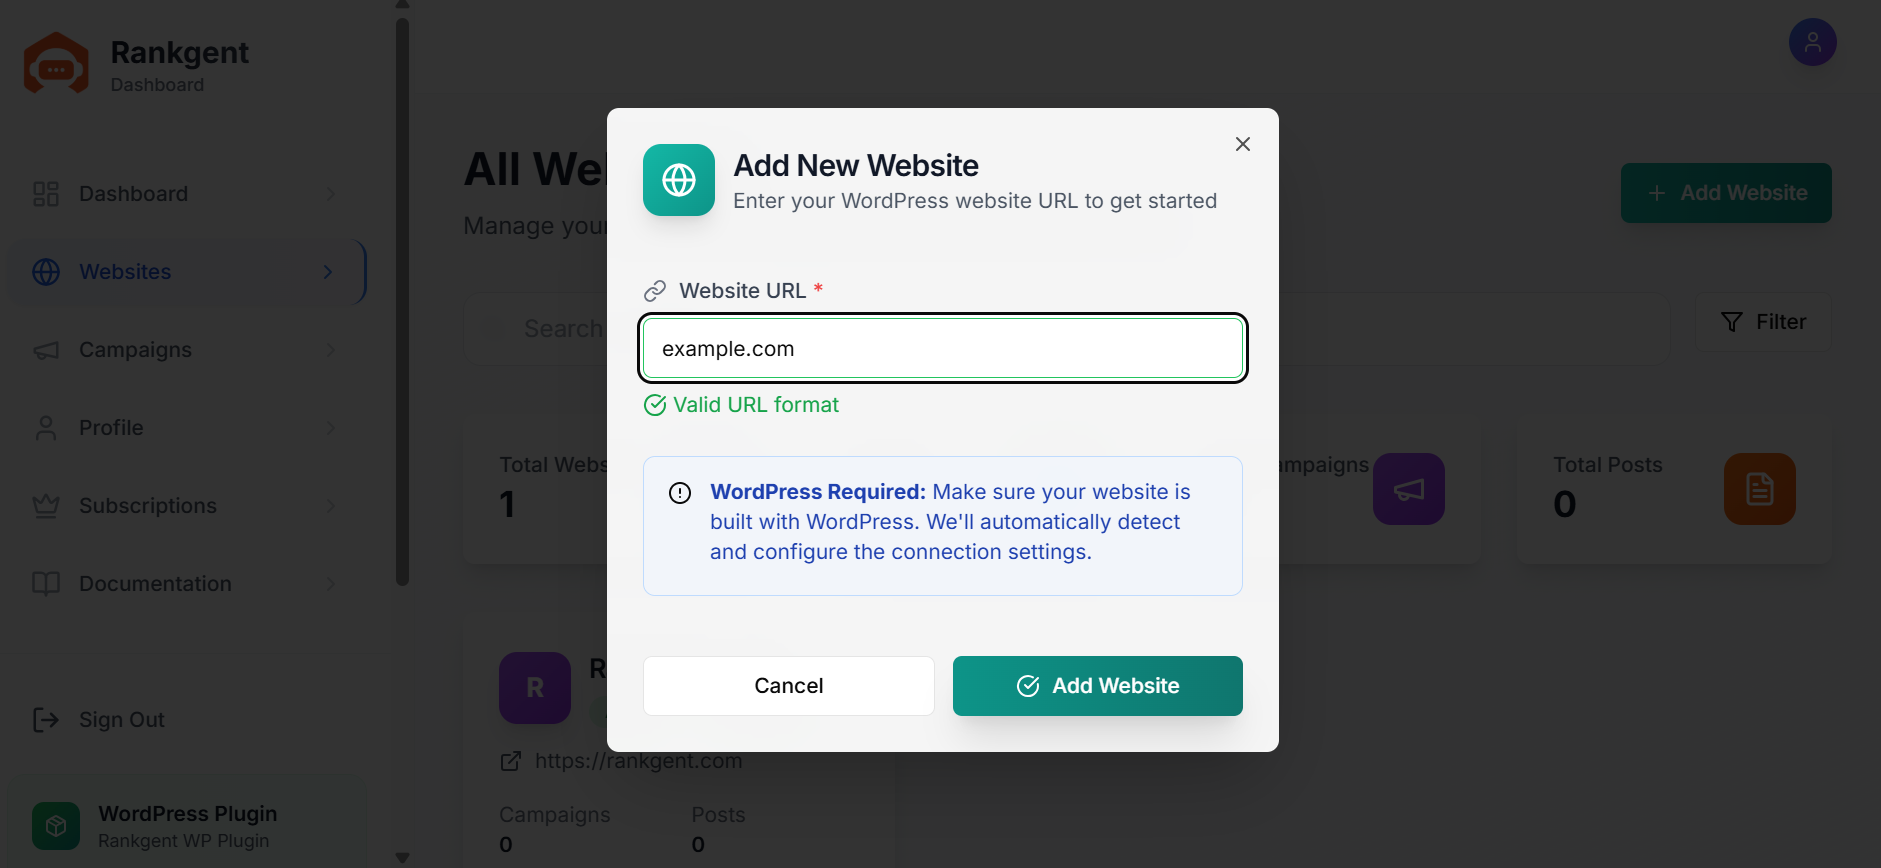
Step 02
Add Your Website
Click on ‘Add Website’ from the top-right corner or use the left sidebar. Enter your domain and submit.
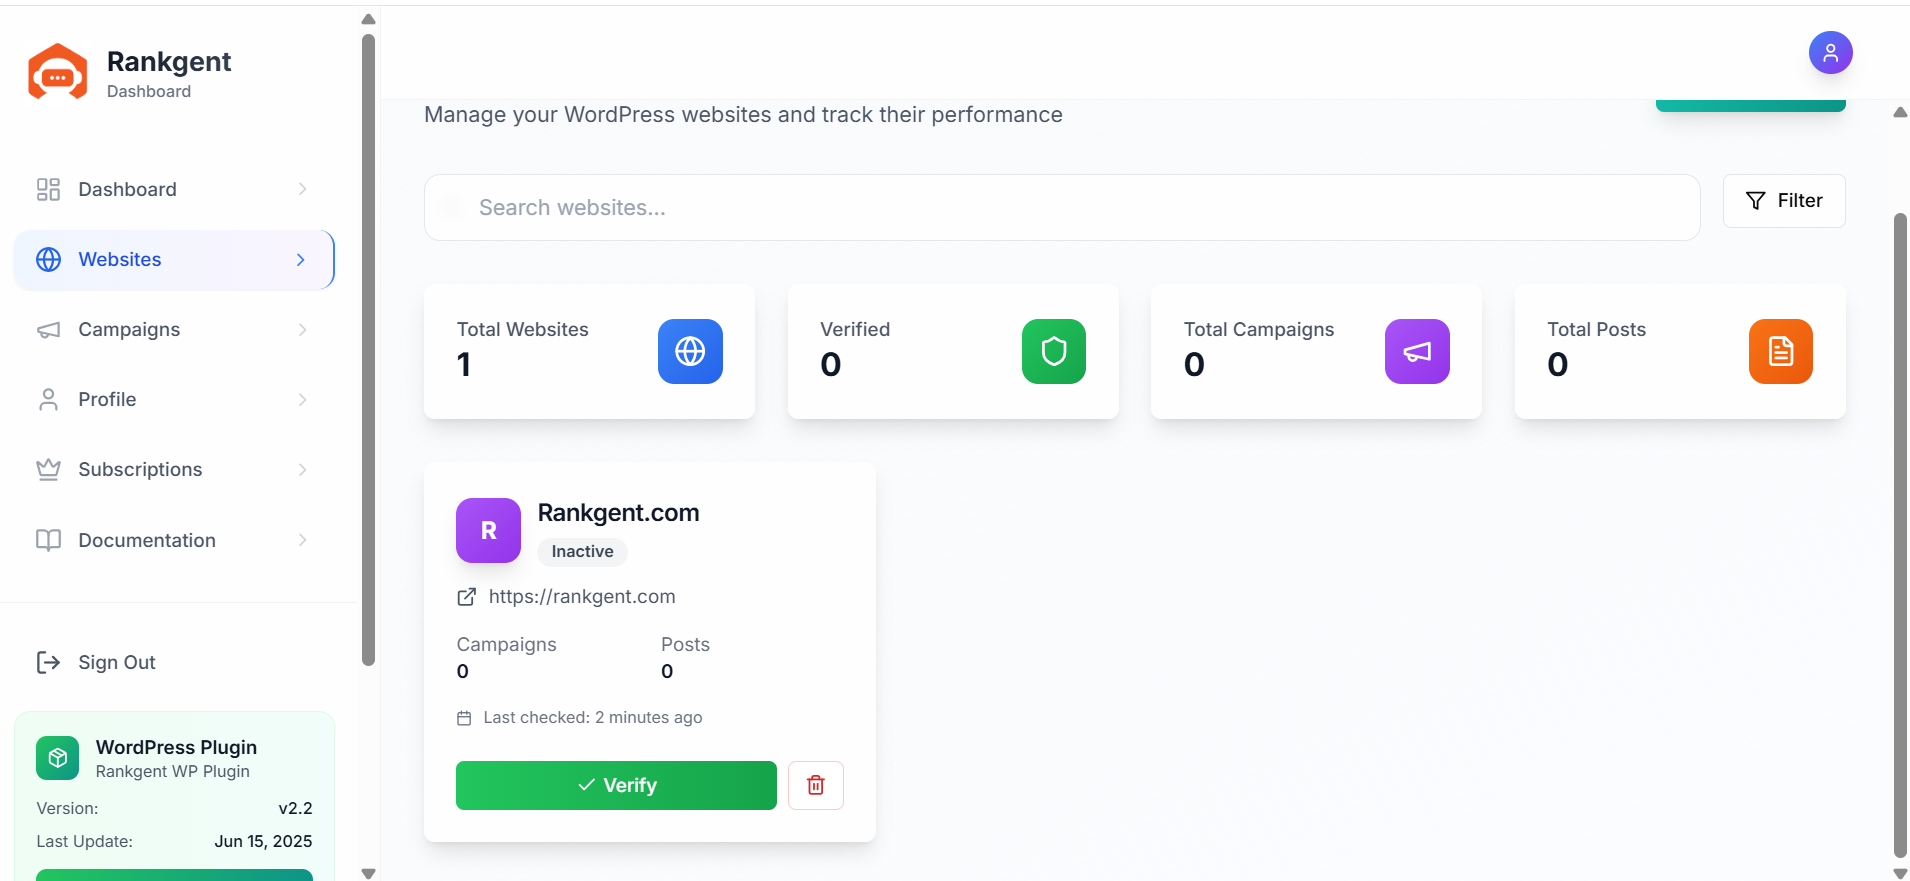
Step 03
Verify Domain Ownership
Verification is required. Choose any method (HTML upload, meta tag, or DNS). Complete the process to verify successfully
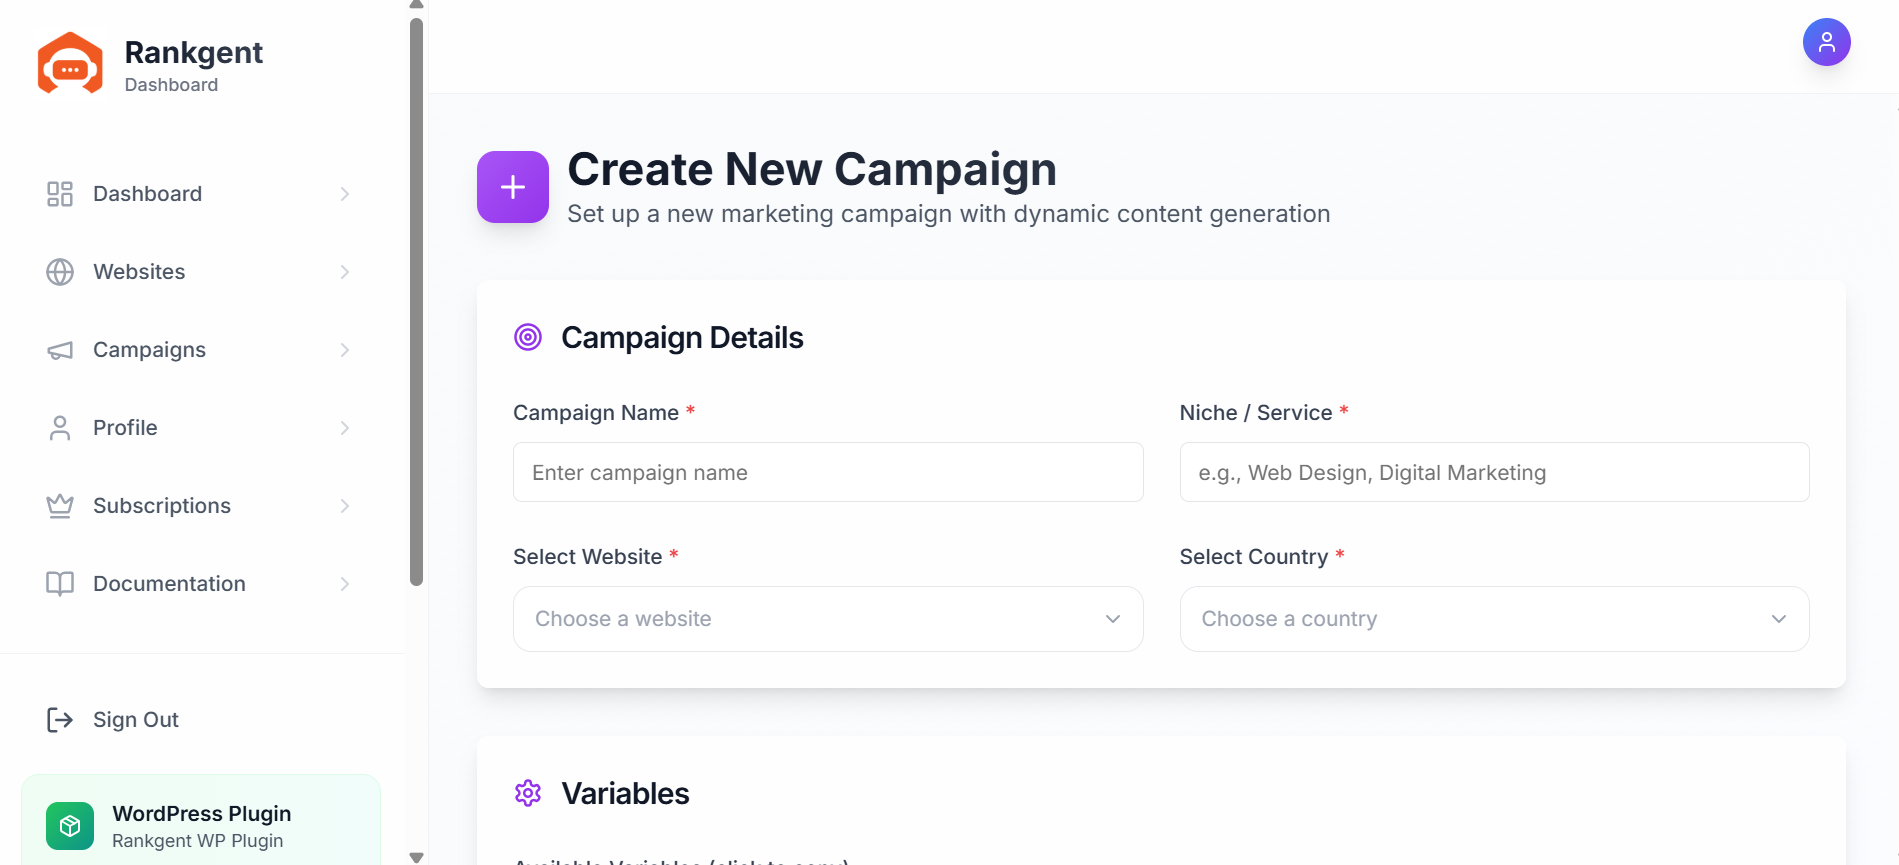
Step 04
Go to Campaigns
After verification, click on ‘Campaigns’ in the left sidebar. You’ll see a ‘Create Campaign’ button. Click it and fill in the form fields like niche, location, etc
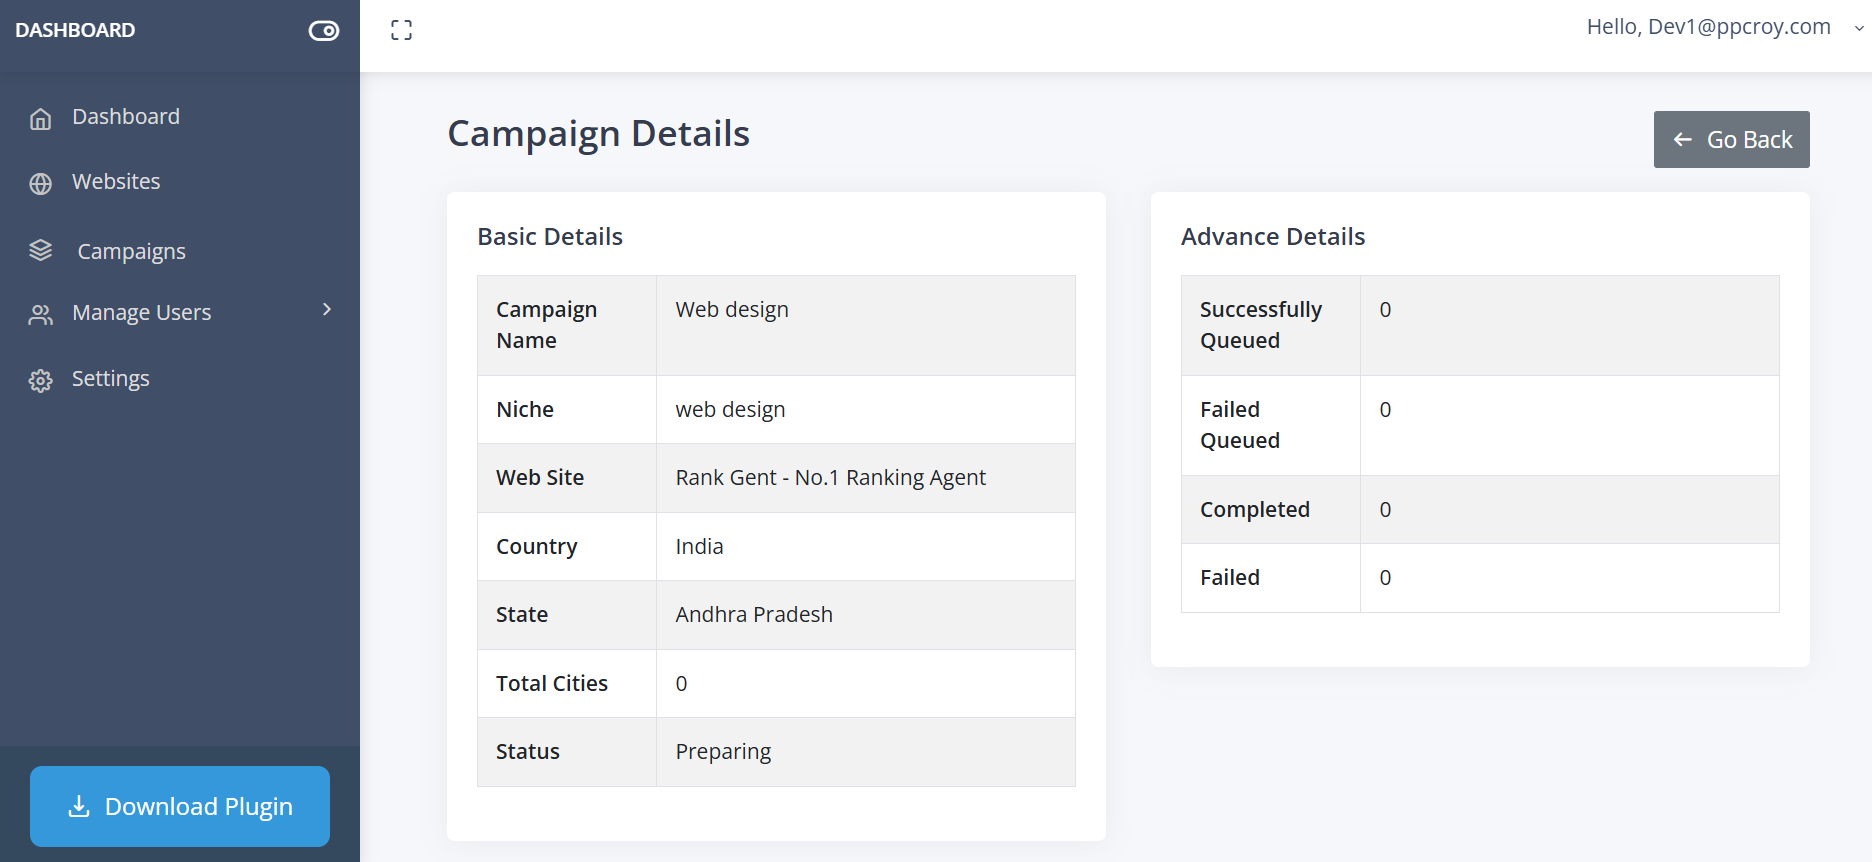
Step 05
Check Campaign Details
After clicking ‘Create Campaign’, it appears in the ‘Campaigns’ section with a status like Preparing. Click ‘Details’ to view info such as niche, website, country, and total cities.
Step 06
Download WP Plugin
Go to the dashboard and click on ‘Download Plugin’ (left sidebar bottom). A .zip file will be downloaded.
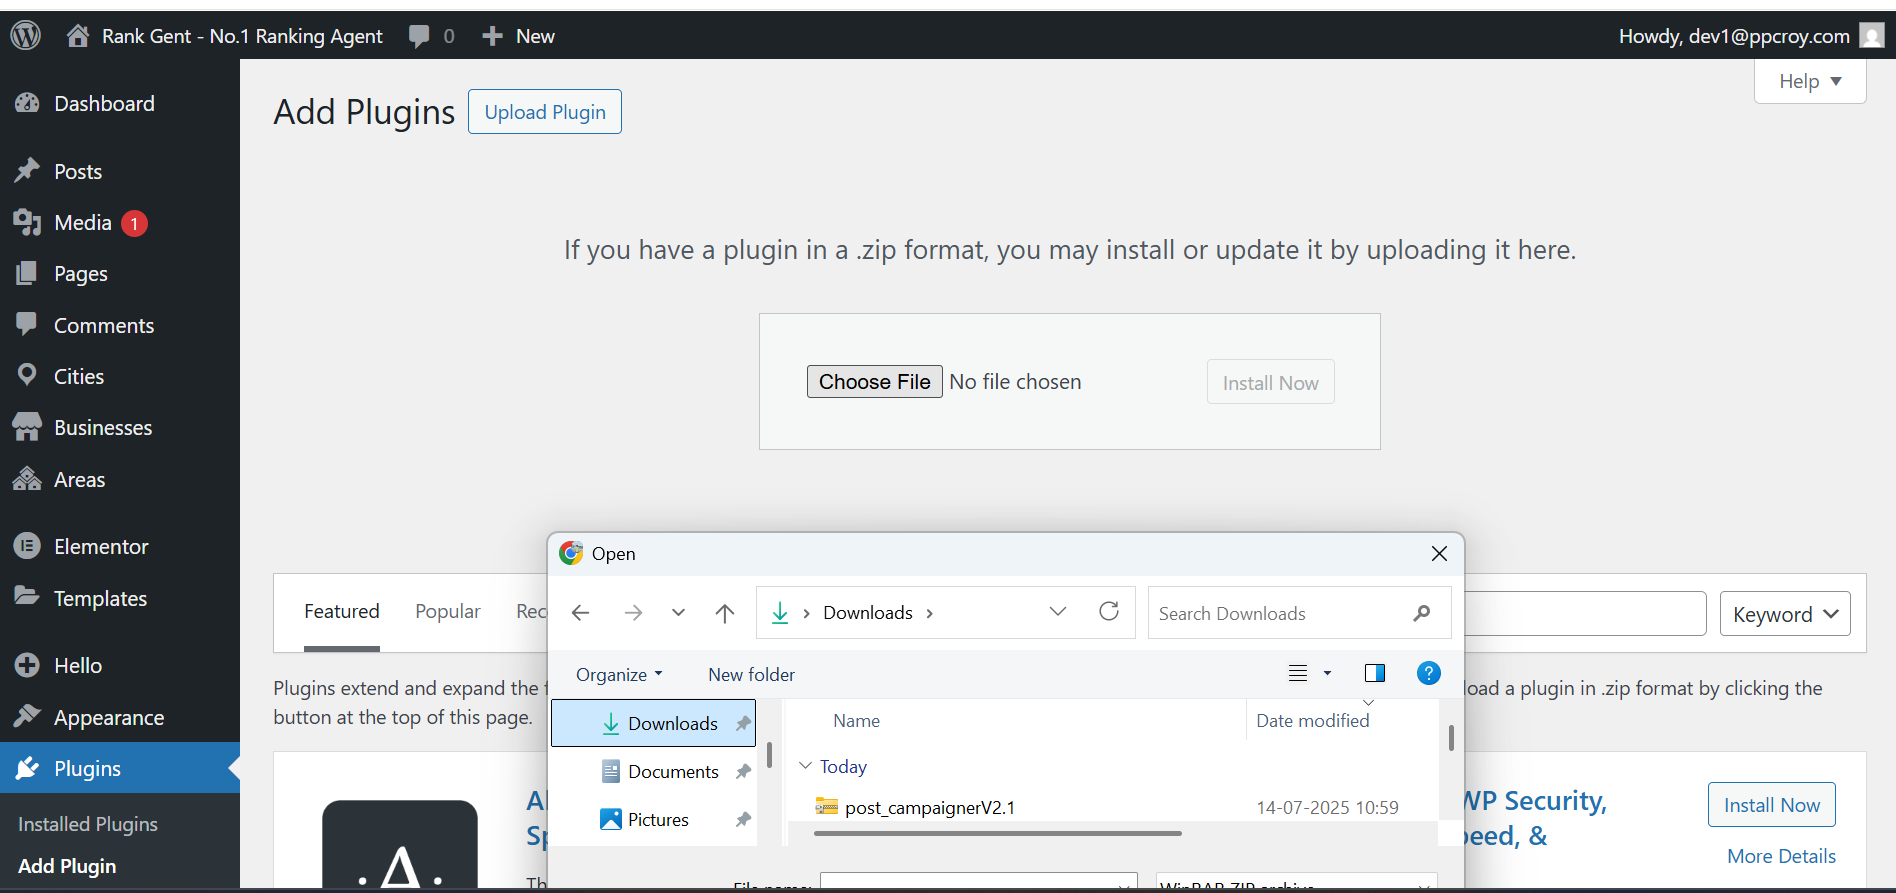
Step 07
Upload and Install Plugin
In your WordPress admin panel, go to ‘Plugins’ > ‘Add New’. Upload the .zip file and click Install → Activate.
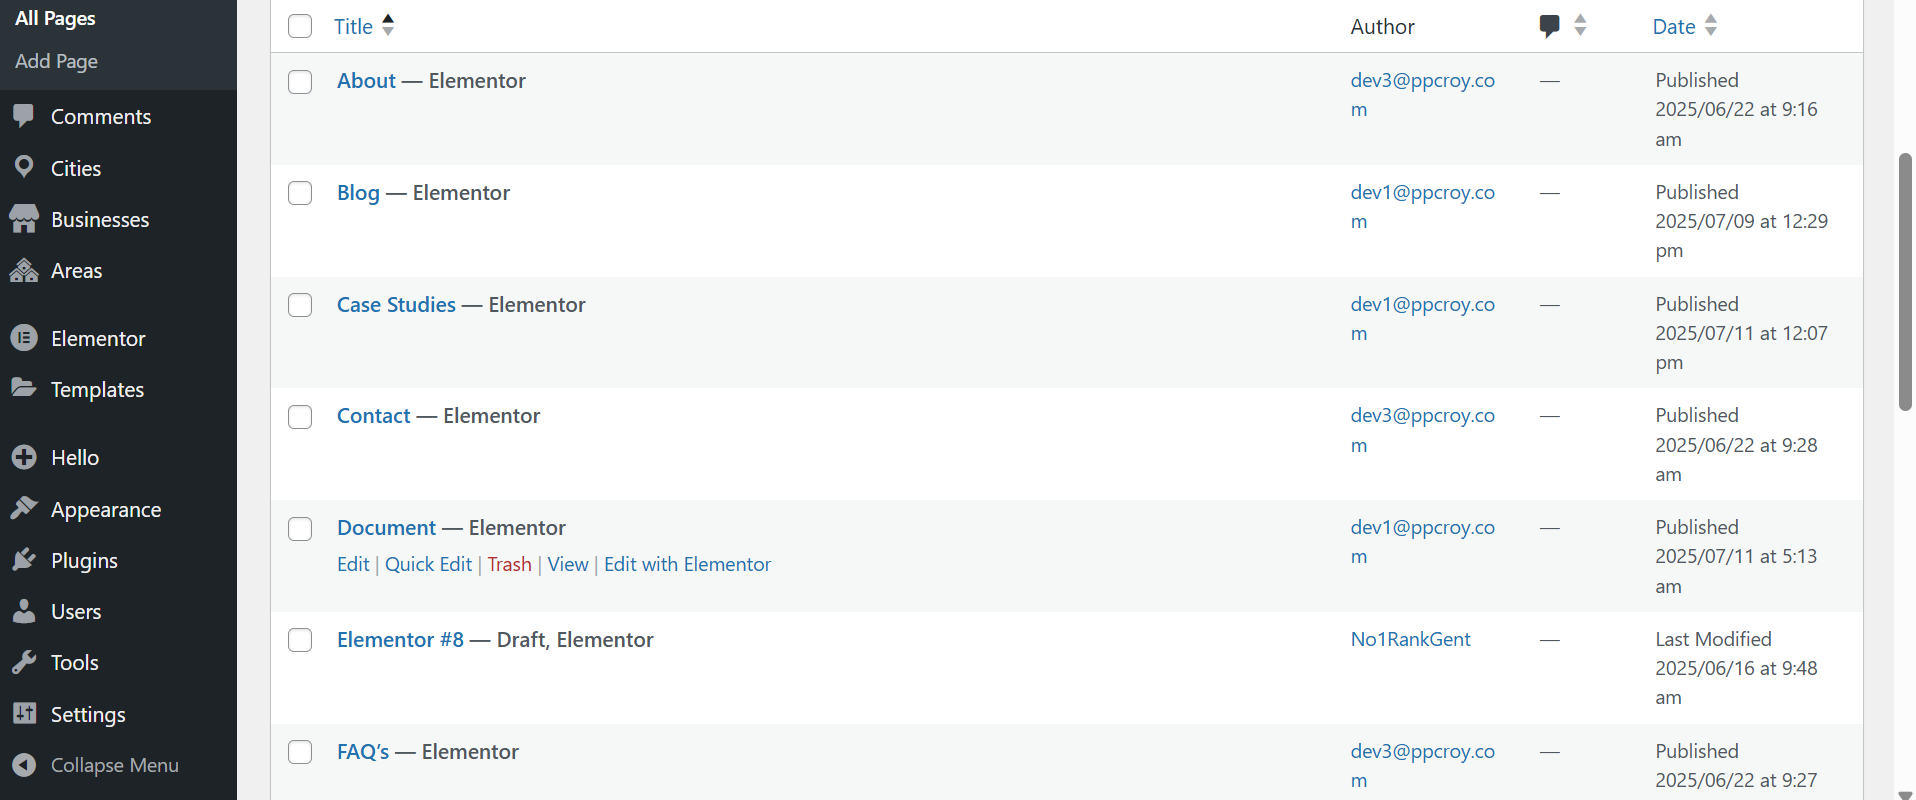
Step 08
Pages in WordPress
After activation, the generated pages will appear in the ‘Pages’ section of your WordPress dashboard.